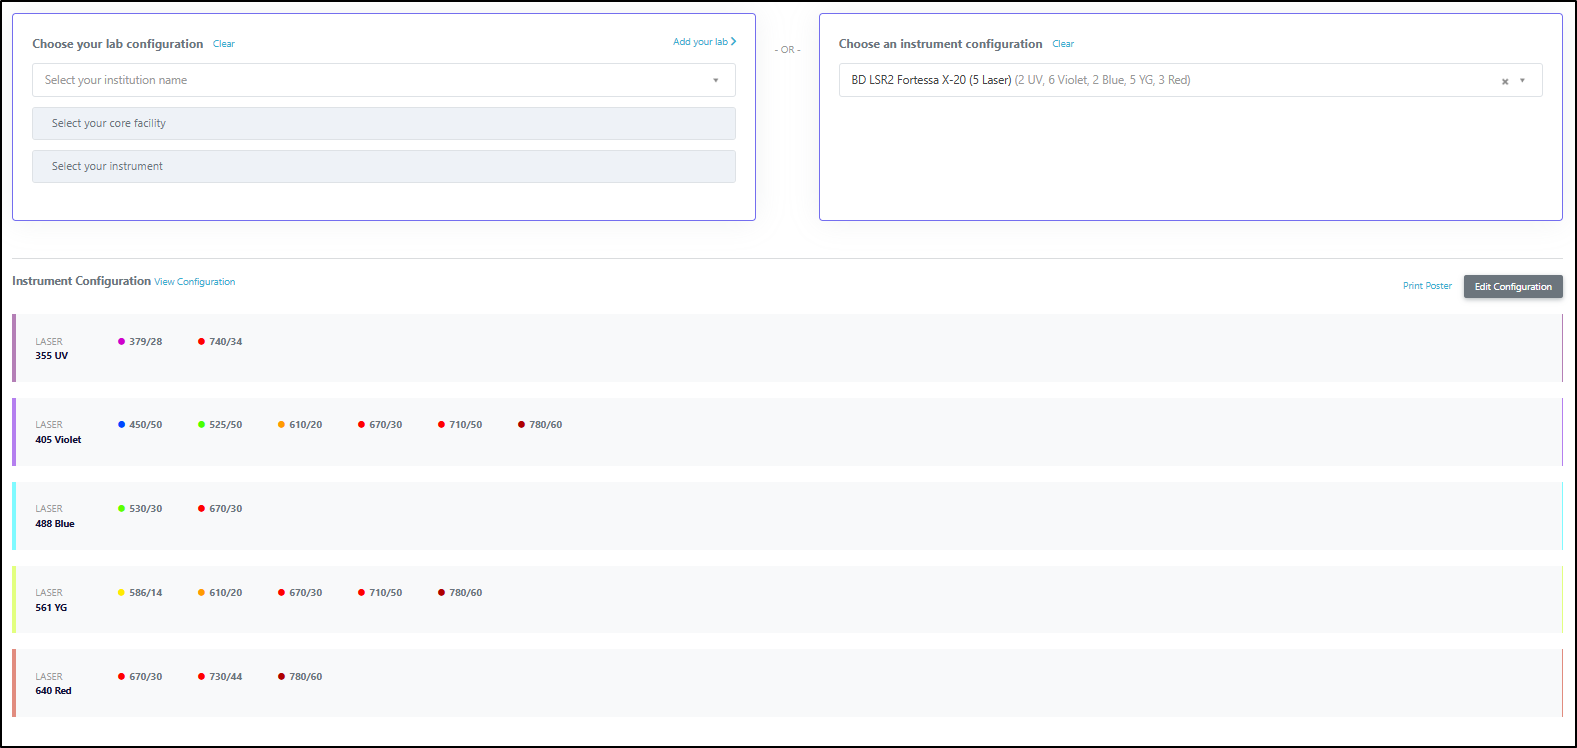
At times, you may find that the configuration of your cytometer doesn't exist in either a Institute/Facility, or in our generic configurations. While we certainly encourage you to add your cytometer to a customer Institute/Facility (see "Adding your Institute/Facility/Instrument Configuration to FluoroFinder" above), our "Edit Cytometer" feature, which creates a temporarily modified cytometer for a single experiment, may be a quicker way to solve your needs. To start, find a cytometer with a similar configuration to the one you are using and select it. In the example below, our user has selected a BD LSR2 Fortessa X-20 (5 laser) - click picture to enlarge:
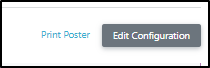
To made (temporary) modifications to this cytometer, click the "Edit Configuration" button:
The cytometer configuration will open, and provide several options for modification, outlined below. Representative locations for each options are shown in the image:

-
Remove a laser - by clicking the "x" icon next to a laser, you can remove the entire laser from the configuration. Removing a laser will automatically remove any associated filters
-
Create a filter - by entering an a new bandpass or longpass filter in the box next to a laser, you can create a new filter associated with that laser.
- New bandpass filter format - ###/## e.g. 525/50
- New longpass filter format - ###LP e.g. 750LP -
Remove a filter - existing filters can easily be removed by clicking the "x" next to the filter denotation
-
Add a laser - a new excitation source can be added by typing in the wavelength of the laser. Format must be ### e.g. 405
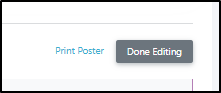
After making any required modifications, ensure you press "Done Editing" to save the changes:
You may then proceed with your panel design by clicking "Continue" at the top of the page: